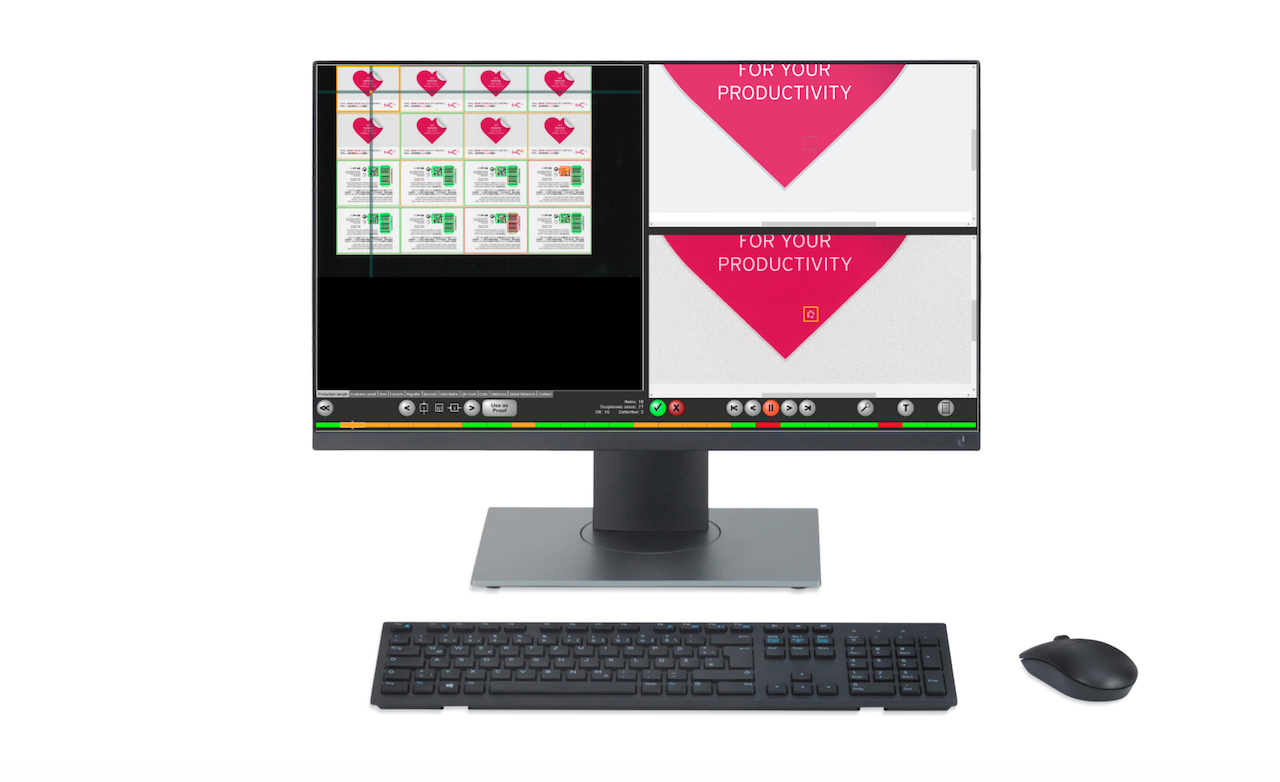
With EyeC inspection systems, print shops and their customers can now measure their print products. In just one inspection cycle, EyeC solutions for PDF proofing and sample testing can automatically check any relevant distances across all items. With this, companies can guarantee correct positioning of all print elements and adequate distances for clean die cutting. Even products with special shapes, such as labels for technical devices, can be measured automatically.
The “Distance Measurement” option is available for EyeC Proofiler Graphic systems (pre-press inspection) and EyeC Proofiler DT Enhanced systems (print sample testing). The software checks all user-defined distances within the specific item, as well as the distances between the items. The operator can set up any number of distances to be measured. The automatic edge detection makes the setup easy and reliable.
During the inspection, the system compares all items against the defined target values. The system automatically notifies the operator as soon as any of the measurements are outside tolerance limits. The specification of additional warning ranges allows for timely corrective action before printing errors occur. At the end of the process, the system delivers a comprehensive report that keeps track of inspection results.
To save even more time, print shops and their customers can perform distance measurements in combination with their PDF or print sample inspection. In just one inspection cycle, the system measures their print products and performs quality checks such as the verification of text and graphics.
Technical drawing style measurement display provides intuitive set-up and operation. Mask saving function allows retrieval of measurement settings for repeat jobs. “The time savings of automatic distance measurement versus manual measurement are enormous,” explains Oliver Peitzner, Product Manager for EyeC Proofiler systems. “This allowed one of our customers for whom we developed the option to pare measurement time on a major order from about 17 working hours to less than six. For later orders, inspection of the same measured sections may even take only five minutes, because they are already stored and don’t have to be recreated.”
